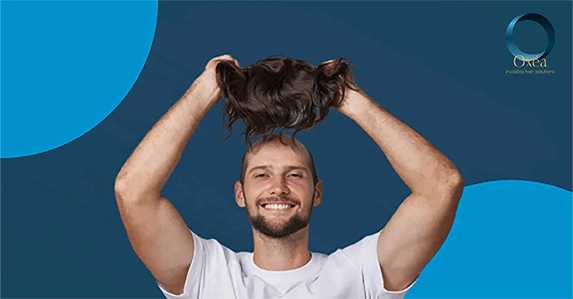
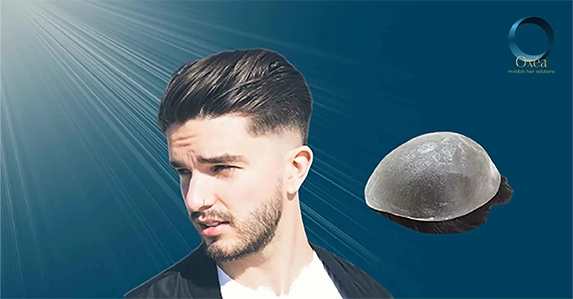
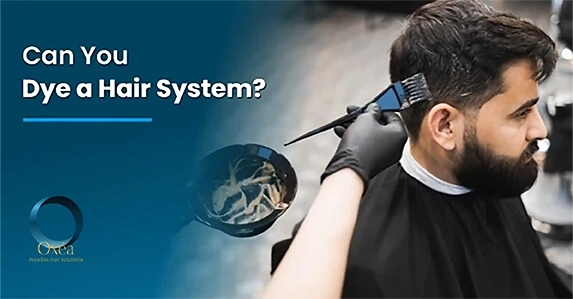
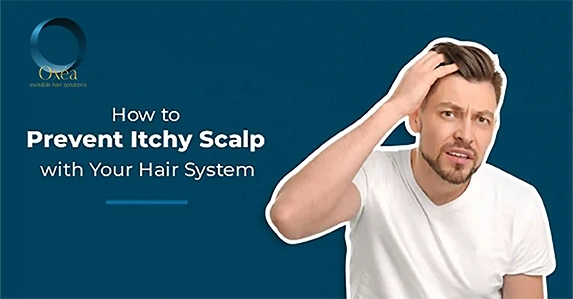
Struggling with poor adhesion or discomfort from your hair system? The problem often lies in neglecting scalp preparation before applying a hair system.
As experts in both scalp care and hair systems, we understand that the correct foundation of a hair system starts from proper scalp preparation. The attention you give to your scalp before applying the hair system plays an important role in ensuring long-lasting results.
Want to know exactly how to do it right? Keep reading this blog to learn the methods that guarantee your hair system stays secured and comfortable every time.
Key takeaways
Proper scalp preparation includes cleansing, exfoliating, and applying a scalp protector.
Knowing whether you have an oily, dry, sensitive, or acne-prone scalp helps customise your prep routine.
Use a scalp protector for oily scalps, a gentle clarifying shampoo to remove residue, and a final cleanse with an alcohol wipe to ensure the adhesive bonds well.
Aftercare plays an integral role in maintaining the health of both your scalp and hair system, with regular hydration, gentle cleaning, and proper maintenance.
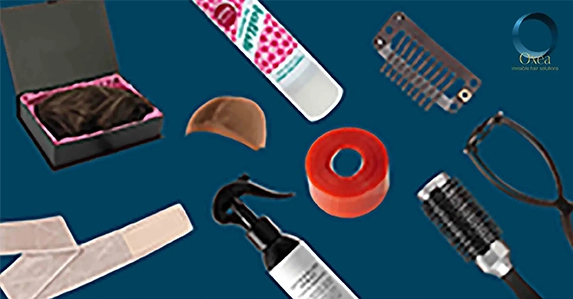
Tools and Products You'll Need Before Applying a Hair System
Tools and Products
Before Applying a Hair System
Cleanser
Affinage Scalp Cleanser removes oils and buildup.
Exfoliant
The Ordinary Glycolic Acid 7% toning solution exfoliates and clears dead skin for smoother adhesion.
Scalp Prep Spray
The Walker Tape Scalp Protector - This forms a protective layer, reducing irritation from the adhesive.
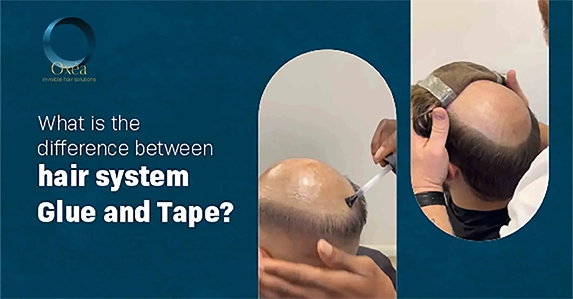
Bonding Tape
Walker Lace Front Tape - It is an ultra-thin, strong tape for a secure hold.
Medical Grade Adhesive
Ghost Bond XL is a latex-free, strong adhesive ideal for sensitive skin and long wear.
Application Tools
Scalp applicator tool for precise and even application of adhesive.
Scalp Protection & Care
Aloe vera or chamomile-infused toner hydrates the scalp and maintains a balanced pH.
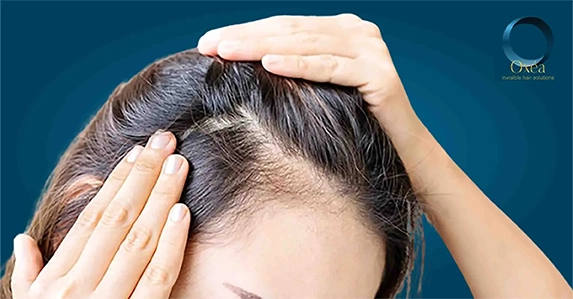
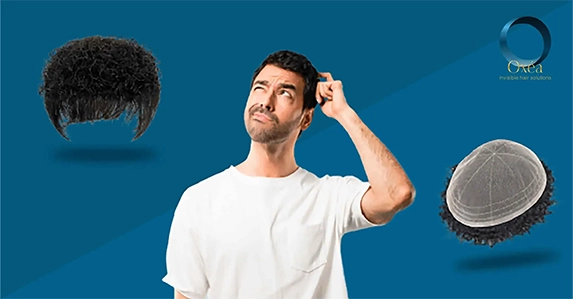
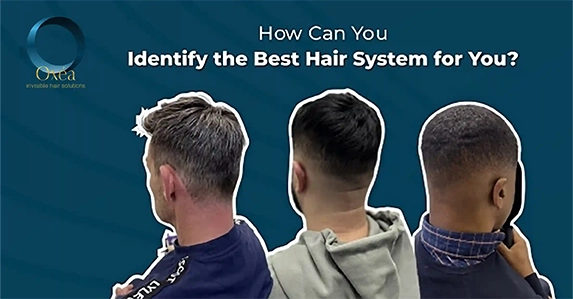
Understanding Scalp Type: Oily vs. Dry vs. Sensitive vs. Acne-Prone Scalps
Knowing your scalp type is the first step to considering scalp care before wig/hair system application.
Oily scalps can weaken adhesive bonds faster. In that case, use a clarifying scalp cleanser to remove excess oils.
Dry scalps may cause discomfort and flaking. So don't forget to hydrate it with a moisturising scalp serum for a smooth surface.
For sensitive scalps, opt for gentle, hypoallergenic products and always test adhesives.
Acne-prone scalps benefit from salicylic acid-based cleansers to prevent pore blockages and irritation.
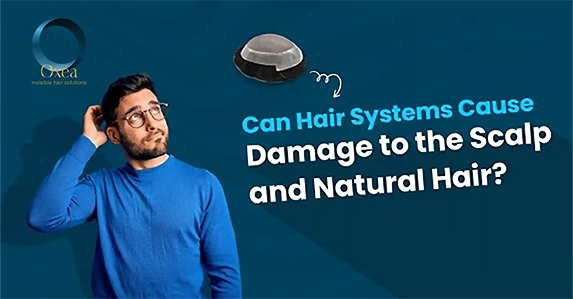
Each scalp type impacts adhesive longevity and comfort, so it’s crucial to adjust your routine accordingly for a secure and comfortable fit. Additionally, improper application or harsh adhesives can lead to scalp irritation, raising the question: Can hair systems cause damage to the scalp? Yes, but only if not applied correctly, they can cause scalp issues like folliculitis.
Preparation Before Applying a Hair System
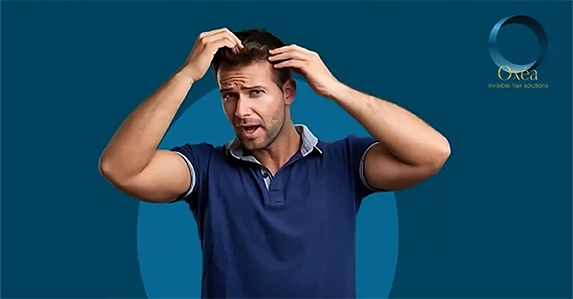
Step 1: Cleanse the Scalp
The first step in preparing for a high-quality hair replacement system is cleansing the scalp. Using a gentle, sulfate-free scalp cleanser, you’ll remove any natural oils, dirt, and product buildup that could interfere with the adhesive bond. Tips to prevent an itchy scalp with your hair system include ensuring the scalp is properly cleansed and free of any residue that could irritate.
A clean scalp provides a better surface for the adhesive to grip onto, ensuring a more secure fit for your hair system.
Do it this way – Gently massage the cleanser into the scalp in circular motions, rinse thoroughly with lukewarm water, and ensure the scalp is completely clean before moving on to the next step.
Step 2: Exfoliate the Scalp (Optional, but Recommended)
Exfoliation is an optional yet highly recommended step in the preparation process.
Using a mild exfoliating scrub or glycolic acid-based solution, you can remove dead skin cells, which helps to prevent follicle blockage and improves the overall surface of the scalp.
This step is essential for ensuring that the adhesive bonds well and lasts longer. Apply the exfoliant gently to the scalp, using your fingertips or an exfoliating pad, and rinse thoroughly. This will leave your scalp smoother and free of buildup, ready for the next stage of application.
Step 3: Apply a Scalp Protector
Once your scalp is clean and exfoliated, it’s time to apply a scalp protector.
This protective spray forms a barrier between your skin and the adhesive, ensuring that your scalp remains safe from irritation or allergic reactions. The scalp protector also ensures a stronger, long-lasting bond between the adhesive and your scalp.
Lightly spray an even layer of the protector onto the area where the hair system will fit, and allow it to dry for a few minutes. This step is necessary for maintaining the comfort and health of your scalp throughout the wear of the system.
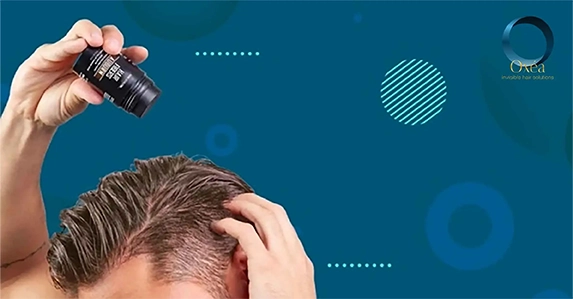
Step 4: Dry the Scalp Completely
Before applying the adhesive, make sure the scalp is completely dry.
Using a blow dryer on a cool or low heat setting, carefully dry the scalp. This step makes sure that the scalp protector is fully absorbed and that no moisture remains to interfere with the adhesive.
A dry scalp will promote a better and more secure bond between the adhesive and the hair replacement system, reducing the risk of the system lifting or moving during wear.
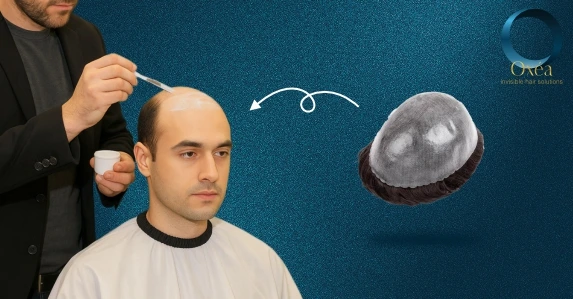
Step 5: Apply the Adhesive or Bonding Agent
Now that your scalp is prepped, it’s time to apply the adhesive. Choose a high-quality, medical-grade adhesive that is latex-free and suitable for your scalp’s sensitivity, ensuring that the layer is smooth and uniform. Allow the adhesive to become slightly sticky before placing the hair system.
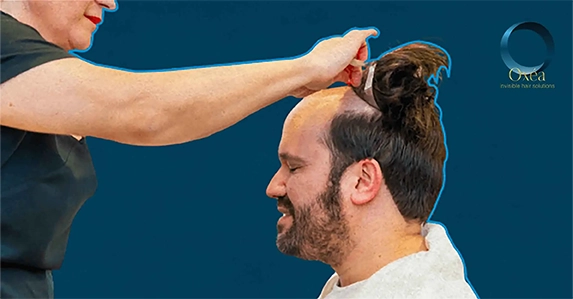
Step 6: Attach the Hair System
With the adhesive in place, you can now attach your hair replacement system. Carefully align the system over the adhesive area, ensuring it is positioned correctly before gently pressing it down.
The system should fit comfortably, without any tightness or discomfort.
Press firmly to ensure the adhesive bonds well with the hair system. Adjust the position as needed to achieve a natural look. Once in place, you’ll have a secure and comfortable fit.
Step 7: Final Adjustments and Maintenance
Hair system scalp preparation includes final adjustments to ensure comfort and proper fit.
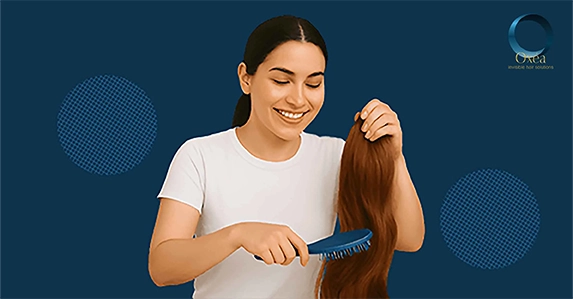
Use a maintenance comb designed for hair systems to gently comb through the hair, removing any tangles or excess adhesive.
Additionally, regular scalp massages can promote circulation, helping to keep your scalp healthy while wearing the hair system. Maintenance and proper care will ensure the longevity and appearance of both your scalp and the hair system.
After-care Instructions :
After applying a hair system, proper aftercare is essential to ensure its longevity and maintain a healthy scalp.
While the product list provided in section two offers a comprehensive approach to aftercare, it’s important to remember that each person’s scalp condition and hair system may require slight adjustments.
As a trichologist, I always recommend following the specific instructions provided with your hair replacement system, as they are designed for the type of adhesive and materials used for the best results.
Top Picks By Oxea London's Trichologist
1. Scalp Protector by Walker Tape EU
Being an expert in the field of hair systems for years, I highly recommend Scalp Protector by Walker Tape EU for someone with an oily scalp, particularly in humid weather.
This product creates a breathable barrier that protects the scalp from irritation caused by adhesives while ensuring that the bond remains strong even under challenging conditions. By controlling oil and providing long-lasting protection, it prevents adhesive breakdown and enhances comfort for all-day wear.
2. Jorgen Clarifying Shampoo
A thorough, yet gentle cleanse is crucial when preparing for the application of a hair system.
Jorgen Clarifying Shampoo is a favourite in professional trichology because it offers a deep cleanse without stripping natural oils or leaving behind residue. This shampoo effectively removes product buildup, sebum, and environmental pollutants, leaving the scalp in optimal condition for adhesive application.
3. Medical-Grade Alcohol Wipes (70%)
To ensure the scalp is free from any oils, moisturisers, or residue that could interfere with adhesion, I recommend Medical-Grade Alcohol Wipes (70%).
These wipes are the best and most used in professional hair studios, offering a final, thorough cleanse just before applying the hair system. They’re formulated to remove any remaining oils, leaving the skin completely clean and dry, while also being gentle on sensitive skin, ensuring a secure bond without irritating.
You can determine your scalp type by assessing oil production, dryness, sensitivity, or acne, often with the help of a trichologist or a scalp analysis tool.
Getting your scalp ready properly is everything when it comes to your hair system working perfectly. Here at Oxea London, our expert trichologists know exactly how to prep your scalp and fit your hair system perfectly.
That’s why we take time with every step, making sure your scalp is all set before we even think about applying your hair system.
Book your consultation with our trichologists today. We’ll show you exactly why taking care of your scalp first makes all the difference to getting amazing results.
Author Profile
Megan Brooks
Megan Brooks is a Certified Trichologist at Oxea Invisible Hair Solutions with over 21 years of Unbeatable experience. Throughout her remarkable career, she has successfully completed an impressive 8000+ hair replacement systems. Megan is dedicated to transforming lives and boosting self-confidence so that one can live with all the pride. She has served over 800 satisfied clients and still-counting, while helping them regain their natural appearance and feel their best.